2026-07-08 · StackFill
PDF/X-1a Compliant Web-to-Print: Keep It Press-Ready
What PDF/X-1a enforces, why personalization breaks it, and how to keep CMYK compliance intact through customer edits and final download.
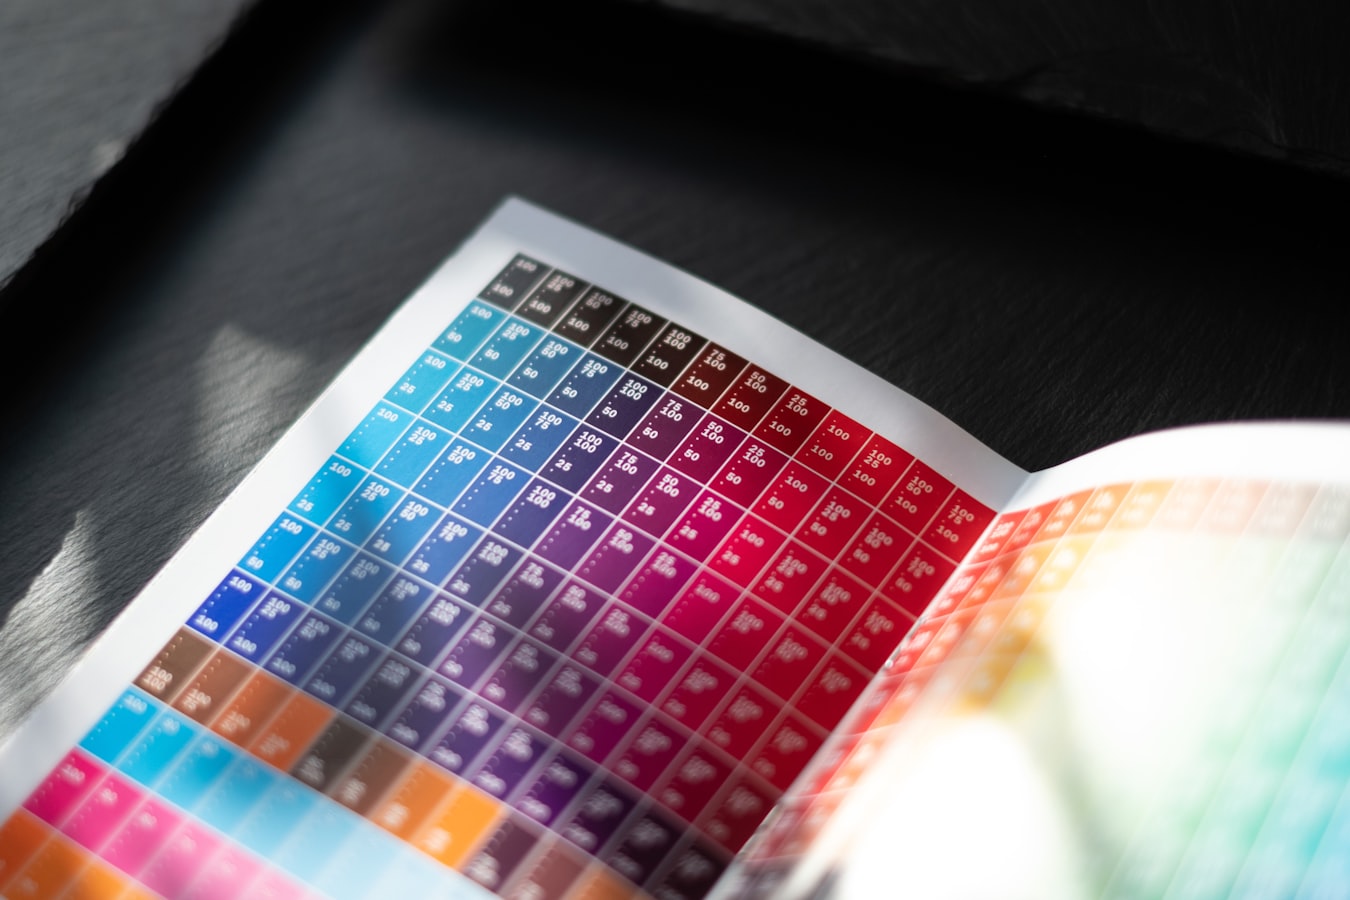
PDF/X-1a Compliant Web-to-Print: What the Standard Enforces and How to Keep It
You have seen "PDF/X-1a" on a print spec sheet. Maybe a customer sent a file that failed it. Maybe your RIP kicked one back. The term gets used like everyone already knows what it means, but few people can explain what the standard actually checks or why it matters once a customer starts editing a file.
This is a plain-language breakdown for print shops and print-savvy marketers. We will cover what PDF/X-1a enforces, why it protects color fidelity in a web-to-print workflow, the four things that quietly break compliance, how to export a valid file from the tools you already use, and how to keep that compliance intact after a customer personalizes the design.
What PDF/X-1a Actually Is (and What It Enforces)
PDF/X-1a is a subset of the PDF format built for one job: reliable print exchange. It strips out everything that makes a PDF ambiguous on press and requires everything a printer needs to run the file without guessing.
Think of a normal PDF as a flexible container. It can hold RGB photos, live transparency, embedded video, missing fonts, and color that depends on the viewer's screen. That flexibility is fine for the web. It is dangerous for print, where "it looked right on my monitor" is not a plan.
PDF/X-1a removes the ambiguity. Here is what a conformant file enforces:
- CMYK and spot color only. No RGB, no Lab, no device-independent color that a RIP has to interpret. Every color is already defined in the space the press prints in. If you want the background on why CMYK is a printing process and not just a screen setting, our piece on why CMYK is not a color mode covers it.
- All fonts embedded. The file carries every glyph it needs. Nothing gets substituted because a font was missing on the output machine.
- No live transparency. All transparency is flattened before export. The press does not have to figure out how overlapping objects blend.
- A declared output intent. The file states which print condition it targets (for example, a specific ICC profile like a coated GRACoL or FOGRA standard). This tells the press what the CMYK numbers are supposed to look like.
- No risky extras. No embedded video, no JavaScript, no forms, no encryption, no external references. The file is self-contained and static.
The short version: PDF/X-1a is a printer's promise. What you send is what runs. Nothing gets converted, substituted, or reinterpreted at the last second.
Why PDF/X-1a Matters the Moment Customers Start Personalizing Files
A shop that builds its own files can control compliance at export. The problem starts when customers touch the file.
Most web-to-print platforms hand the customer an editor, let them change text and swap a photo, then generate a fresh PDF on the way out. That generation step is where color fidelity dies. A field the customer edited might carry RGB text. A logo they uploaded might be in the wrong color space. The platform then does a bulk RGB-to-CMYK conversion at download, and the blues shift, the reds dull, and the file no longer matches the proof the customer approved.
This is the exact failure PDF/X-1a exists to prevent. If the output is truly X-1a conformant, there is no last-second conversion, because every element was already CMYK or spot before it ever reached the press.
Color is the part people notice, but compliance protects more than that. A missing embedded font in a personalized field can reflow text or drop a character. Unflattened transparency from an uploaded graphic can knock out a background in an unexpected way. When your workflow guarantees X-1a on the final file, you close all of those doors at once.
For a print shop, this is the difference between a clean run and a reprint on your dime. For a franchise or corporate marketing team pushing the same template to fifty locations, it is the difference between fifty consistent pieces and fifty slightly different ones. The standard is not bureaucracy. It is the thing that lets you say "the proof is the print" and mean it.
The Four Things That Break X-1a Compliance in a Web-to-Print Workflow
Compliance rarely breaks at the design stage. A careful designer can export a clean X-1a file. It breaks downstream, after the file leaves the designer's hands and gets personalized. Here are the four usual suspects.
1. RGB creeping in through customer edits. The single most common failure. A customer types text and the editor defaults to RGB black instead of a defined CMYK black. Or they upload an RGB logo. The file now contains color the standard forbids, and something has to convert it later.
2. Missing or non-embedded fonts. When a customer changes text, the platform has to render that text with a real font file. If the font is not embedded in the output, the RIP substitutes a different one, and your layout shifts. This is a quiet failure because the proof might look fine while the press file is broken.
3. Live transparency from uploaded assets. A customer drops in a PNG with a soft shadow or a semi-transparent overlay. If the export does not flatten it, you have live transparency in a file that is supposed to have none. Some RIPs handle it, many do not, and the ones that do may handle it differently than your proof showed.
4. A missing or mismatched output intent. If the file has no declared output intent, the press has no reference for what the CMYK values should look like. If the intent does not match your actual print condition, your numbers are calibrated to the wrong target. Either way, the "guarantee" the standard offers is gone.
Notice the pattern. Every one of these breaks during personalization, not during design. That is why the delivery layer, the thing that generates the final file after a customer edits it, is where compliance is actually won or lost.
How to Output a Valid PDF/X-1a File from InDesign, Illustrator, and Acrobat
Before you worry about the customer-facing side, make sure your source file exports clean. Here is how to produce a conformant PDF/X-1a from the three tools most shops use.
Adobe InDesign
InDesign ships with a built-in preset. Go to File, then Export, and choose Adobe PDF (Print). In the Adobe PDF Preset dropdown, select PDF/X-1a:2001. Then check these before you hit export:
- Under Output, set the Color Conversion to Convert to Destination and pick a CMYK destination profile that matches your press condition.
- Confirm the Output Intent Profile Name is set. X-1a requires it.
- Under Advanced, set Transparency Flattener to a high-resolution preset. This is what flattens live transparency.
- Under General, do not include interactive elements, bookmarks, or hyperlinks. X-1a strips them anyway, but keep the file clean.
Adobe Illustrator
Use File, then Save As, and choose Adobe PDF. Pick the PDF/X-1a:2001 preset in the dialog. Then:
- Under Output, set the color conversion and destination profile the same way as InDesign.
- Make sure Preserve Illustrator Editing Capabilities is unchecked. It bloats the file and can carry non-conformant data.
- Confirm all fonts are available so they embed. Illustrator will warn you if a font cannot be embedded due to its license. If that happens, check the font's license terms with the foundry; that is a licensing question, not a technical one.
Adobe Acrobat Pro
If you already have a PDF and need to convert or verify it, use Acrobat's Preflight tool. Open the file, go to Print Production, then Preflight. Under the PDF/X profiles, run Convert to PDF/X-1a. Acrobat will flag what it cannot fix and convert what it can. Always run a verify profile afterward to confirm the result passes, not just that the conversion ran.
A quick note on trim and bleed: X-1a does not enforce a specific bleed amount, but your press does. Set your bleed (commonly 0.125 inch) and confirm your trim box and bleed box are defined correctly in the export. A compliant file with no bleed still causes white edges after trimming.
How StackFill Keeps Personalized Files Press-Ready Without Rebuilding the Design
Here is the practical problem. You can export a perfect PDF/X-1a file today. But the moment a customer personalizes it through a typical web-to-print editor, that compliance is at the mercy of the editor's export engine, and most of them convert color at the end.
StackFill takes a different route. Instead of asking you to recreate your design inside an editor, it ingests your finished, already-compliant print PDF into a structured scene graph. You mark which elements customers may edit, like a name, a phone number, or a title, and you lock everything else. The design you already exported stays exactly as it is. If you want the fuller argument for why recreation is the wrong starting point, we made it in the recreation tax.
Customers personalize against a live proof, so what they see on screen is the actual file, not an approximation. When they download, the output is a byte-identical, press-ready CMYK PDF. Because StackFill works from your finished file and preserves CMYK and spot color end to end, there is no RGB-to-CMYK conversion waiting at the download step. The color the customer approves is the color that goes to press. Spot colors stay named and intact rather than getting mashed into process builds.
This is the delivery-layer piece that closes the four failure points above. Nobody rebuilds the design, so nothing gets reinterpreted. This approach fits how print shops already work and how marketing teams need to keep brand collateral consistent across locations. For a step-by-step on the setup side, our guide on letting customers edit a PDF without changing the design walks through it.
Preflight Checklist: Confirming X-1a Compliance Before You Send to Press
Trust, then verify. Run every file through a preflight pass before it goes to press, whether it came from your own export or from a personalized download. Here is a checklist you can use.
- Color spaces. Confirm the file contains only CMYK and named spot colors. No RGB, no Lab, no ICC-tagged RGB images hiding in placed art.
- Output intent. Confirm an output intent is present and that it matches your actual print condition, not a generic default from another shop.
- Fonts. Confirm every font is fully embedded. Preflight should report zero non-embedded or subset-only warnings that would cause substitution.
- Transparency. Confirm no live transparency remains. Everything should be flattened.
- No forbidden objects. No JavaScript, no annotations, no form fields, no video, no encryption.
- Trim and bleed. Confirm the trim box and bleed box are defined and that bleed extends far enough for your finishing.
- Overprint and knockout. Check that overprint settings are intentional, especially on black text and spot colors, so nothing knocks out that should print over.
- Resolution. Confirm raster images meet your minimum effective resolution at final size, typically 300 ppi for photos.
Run this in Acrobat's Preflight, in your RIP's preflight, or in a dedicated tool like a Callas or Enfocus profile. The point is that the pass is repeatable and happens on every job, not just the ones that look risky.
The value of PDF/X-1a is not the acronym. It is the promise that your file will print the way it was proofed. That promise only holds if it survives personalization. Keep your exports clean, verify with preflight, and use a delivery layer that preserves compliance instead of undoing it at download. If you want to see how that works on your own files, take a look at how it works or reach out through contact.